Introduction
Firebase Analytics is a free solution provided by Google’s Firebase that allows us to gain powerful insights into how your users are behaving within our apps.
It can help us make informed decisions regarding app marketing and performance optimizations.
By using Firebase Analytics, we can make data-driven decisions to improve user engagement and user experience.
Let’s understand with a example
We will create a simple application in Flutter and connect firebase with it and use Firebase Analytics to see realtime changes.
Now that you know what we are going to build, I want you to focus and understand each step as this will help you understand how state and cubit work together to update the UI.
Things You Need
- Basic Understanding of Flutter Framework
- IDE like VSCODE or Android Studio
- Mobile device for testing
- Google account for firebase console
Getting Started
Set up your Flutter project:
First, make sure you have Flutter and Dart installed on your machine. If not, you can follow the official Flutter installation guide here: https://docs.flutter.dev/get-started/install
Create a new Flutter project using the following command in your VS code Terminal:
flutter create firebase_analytics_example , This will create a project for you, Now follow the rest of the instructions.
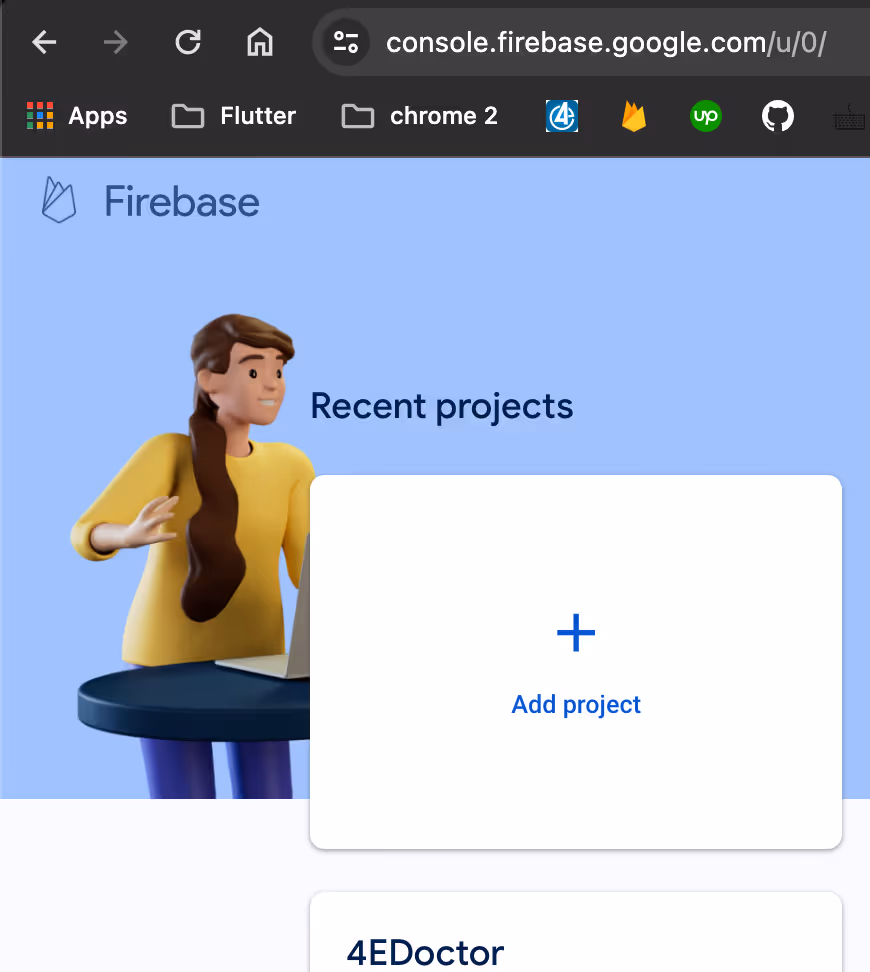
Setup your firebase console project
Goto https://console.firebase.google.com/ and create a new project.
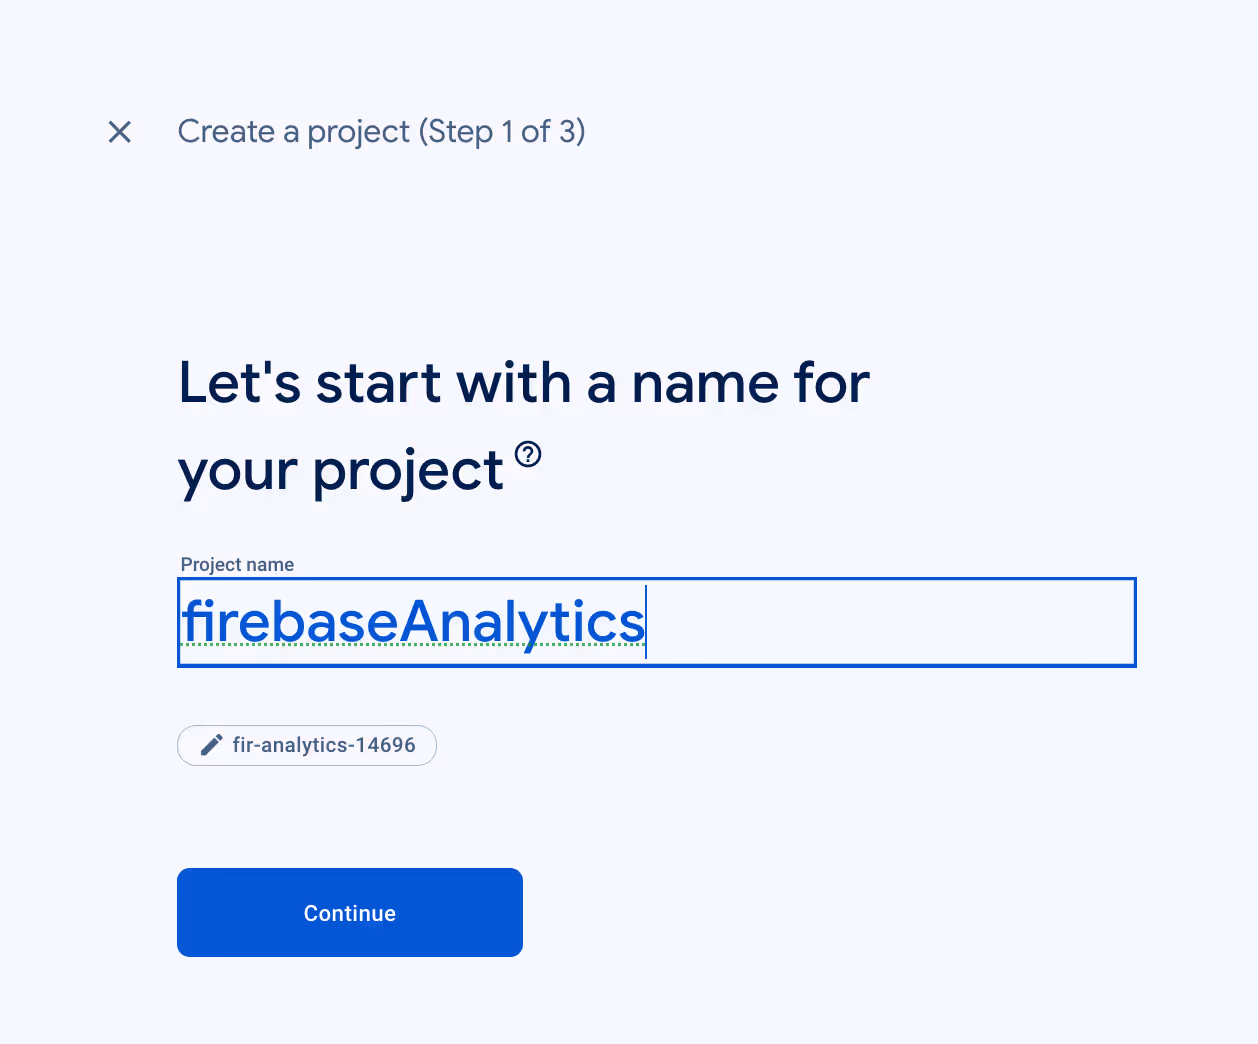
Write your project name and keep the analytics enabled on next screen as well:
Now it’s time to add firebase to your local project, using firebase CLI
Goto: Project Settings and add you flutter app:
From there follow a simple step by step process to use Firebase CLI and register your project.
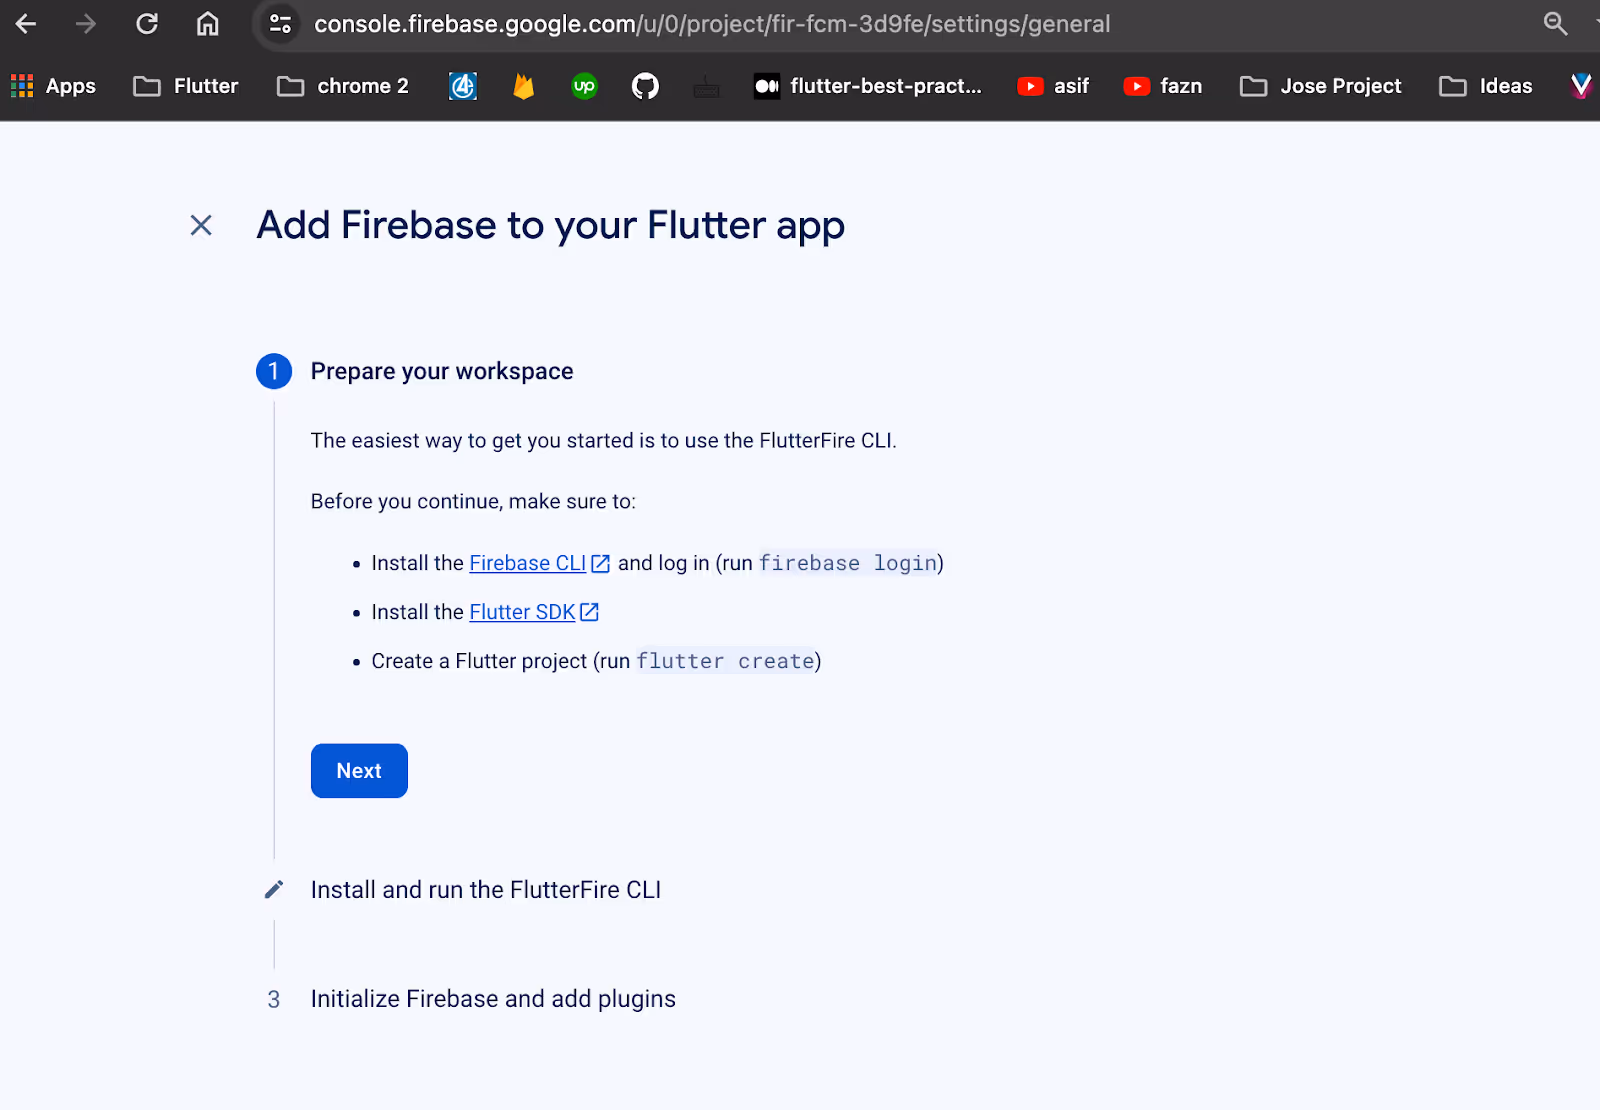
This will add necessary configurations for your project.

Now goto following link to access the analytics dashboard:
https://console.firebase.google.com/u/0/project/fir-fcm-3d9fe/messaging/onboarding//
Add required package
Let’s first add some required packages to our project:
In your terminal run this command ‘flutter pub add firebase_analytics’
and ‘flutter pub add firebase_core’
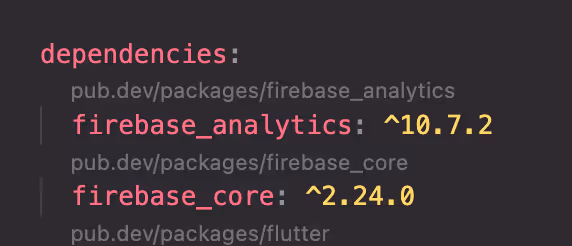
This will add firebase_analytics and firebase_core packages to your ’pubspec.yaml’ file
You may need to update these packages to the latest versions, as these packages are regularly updated. Find these packages on pub.dev
Register application on firebase console
Now we will register our application on firebase console, for that open firebase console and goto firebase analytics and add a device (android).
In your project and copy the ‘Android package name
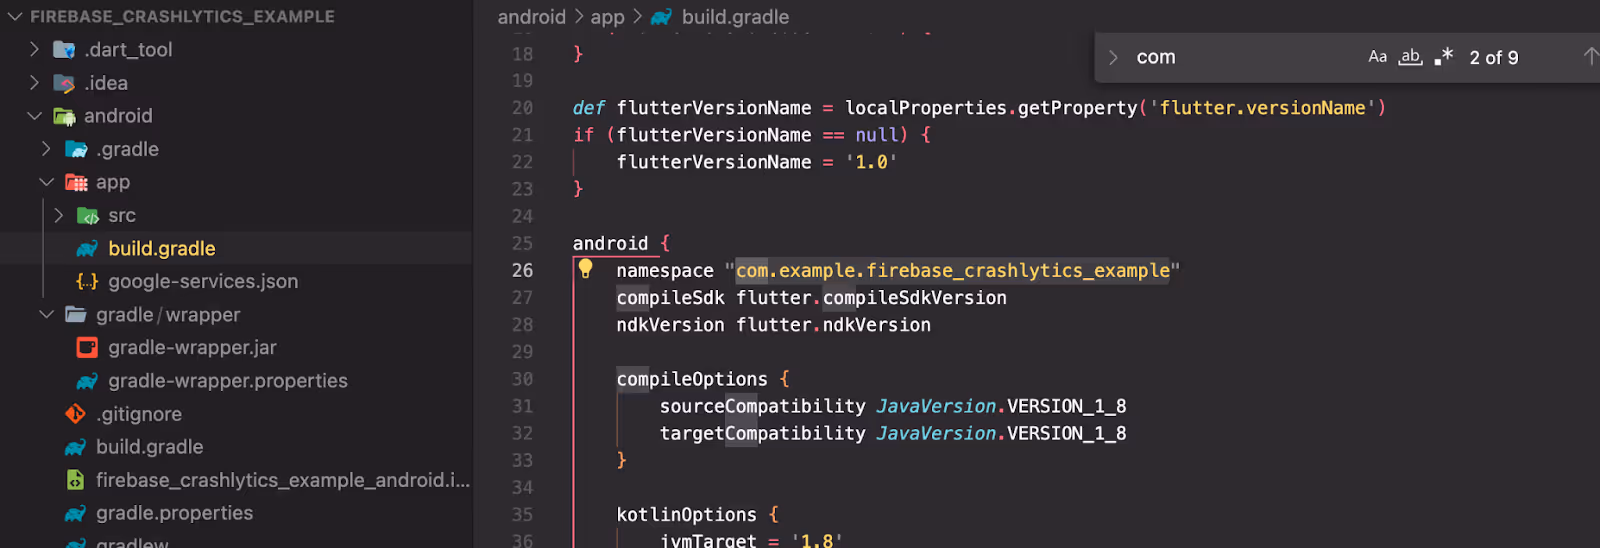
In my case it’s com.example.firebase_crashlytics_example
Now, paste this in the analytics ‘add android device’ and hit enter.
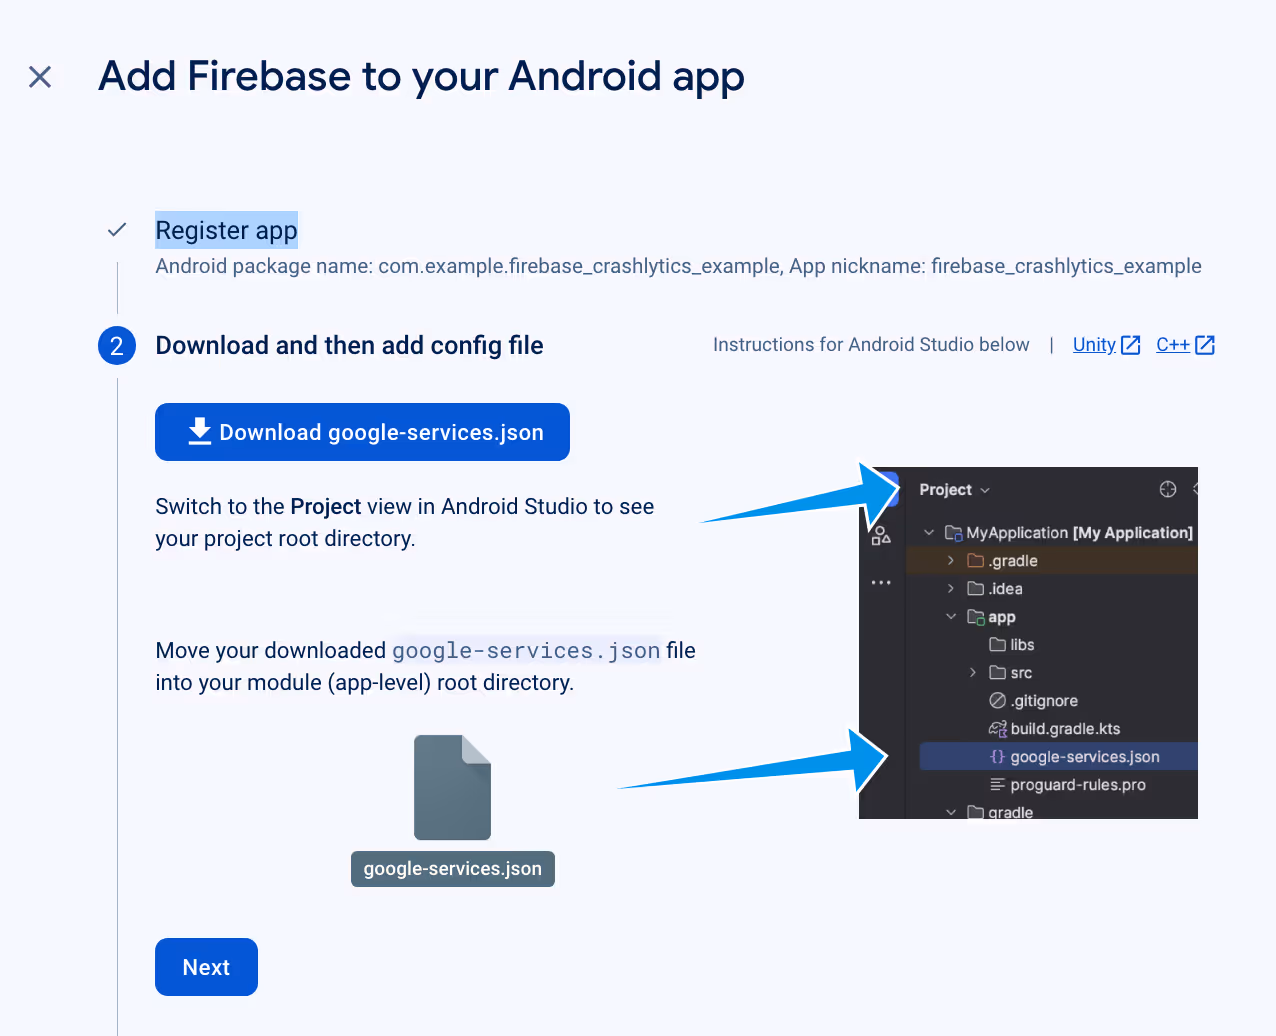
Now as guided download this .json file and save it in your project.


Just follow these instructions and rebuild your project using these commands:
Flutter clean
Flutter pub get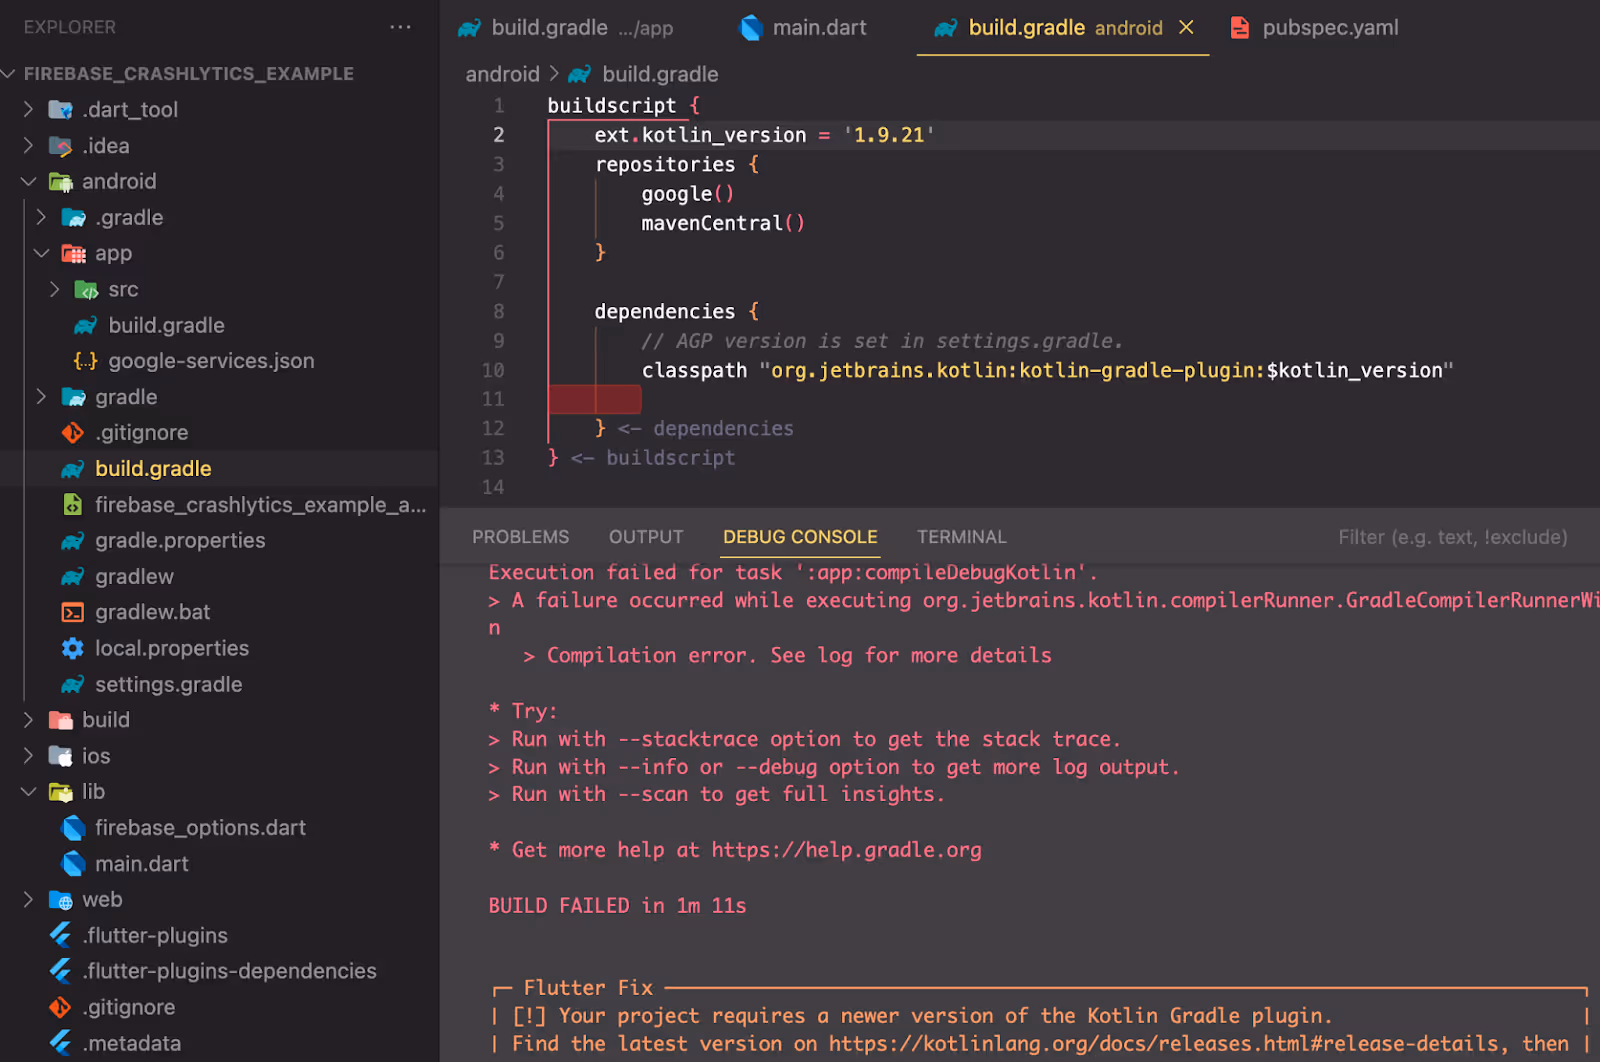
You may also get this error, which you can easily fix by updating to latest kotlin version, which as of today is 1.9.21
// Import necessary packages
import 'package:firebase_analytics/firebase_analytics.dart';
import 'package:firebase_analytics_example_new/firebase_options.dart';
import 'package:firebase_core/firebase_core.dart';
import 'package:flutter/material.dart';

// Main function
void main() async {
  // Ensure the widget tree is initialized before Firebase
  WidgetsFlutterBinding.ensureInitialized();

  // Initialize Firebase with default options
  await Firebase.initializeApp(
    options: DefaultFirebaseOptions.currentPlatform,
  );
}
// Import necessary packages
import 'package:firebase_analytics/firebase_analytics.dart';
import 'package:firebase_analytics_example_new/firebase_options.dart';
import 'package:firebase_core/firebase_core.dart';
import 'package:flutter/material.dart';
// Main function
void main() async {
// Ensure the widget tree is initialized before Firebase
WidgetsFlutterBinding.ensureInitialized();
// Initialize Firebase with default options
await Firebase.initializeApp(
options: DefaultFirebaseOptions.currentPlatform,
);
}// Run the main Flutter app
runApp(const MainApp());
}
// MainApp widget
class MainApp extends StatefulWidget {
// Constructor
const MainApp({super.key});
// Create state for MainApp
@override
_MainAppState createState() => _MainAppState();
}
// State for MainApp
class _MainAppState extends State<mainapp> {
// Initialize Firebase Analytics
final FirebaseAnalytics analytics = FirebaseAnalytics.instance;
// Counter variable
int _counter = 0;
// Function to increment counter and send analytics event
void _incrementCounter() {
// Increment counter
setState(() {
_counter++;
});
// Send analytics event
_sendAnalyticsEvent();
}
}// Function to send analytics event
void _sendAnalyticsEvent() async {
// Log event with Firebase Analytics
await analytics.logEvent(
name: 'counter_incremented',
parameters: <String, dynamic>{
'counter': _counter,
},
);
}// Build function for widget
@override
Widget build(BuildContext context) {
// Return MaterialApp widget
return MaterialApp(
home: Scaffold(
body: Center(
child: Column(
mainAxisAlignment: MainAxisAlignment.center,
children: <Widget>[
// Display text
const Text(
'You have pushed the button this many times:',
),
// Display counter
Text(
'$_counter',
style: Theme.of(context).textTheme.headlineMedium,
),
],
),
),
// Floating action button to increment counter
floatingActionButton: FloatingActionButton(
onPressed: _incrementCounter,
tooltip: 'Increment',
child: const Icon(Icons.add),
),
),
// Add Firebase Analytics observer
navigatorObservers: [
FirebaseAnalyticsObserver(analytics: analytics),
],
);
}</widget></string></mainapp>
Update your main.dart file as above, Now let’s understand this code:
Here we are importing firebase_core and firebase_options and then on the app run It initializes a new Firebase application instance and DefaultFirebaseOptions.currentPlatform contains a set of options that are required for the current platform like Android or IOS.
_sendAnalyticsEvent logs an event named ‘counter_incremented’ to Firebase Analytics, with the current counter value as a parameter, which is shown in the analytics dashboard..
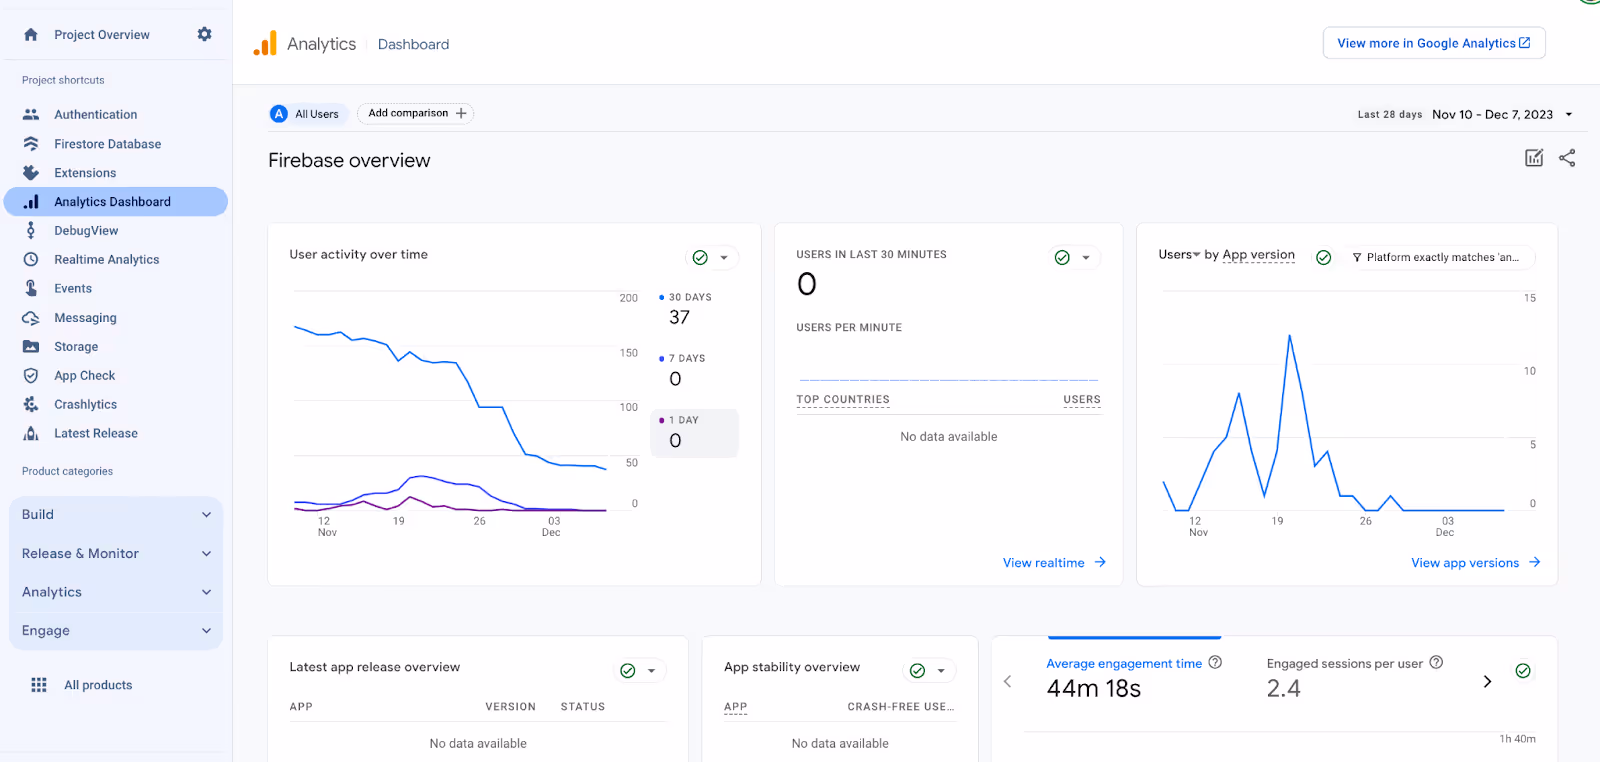
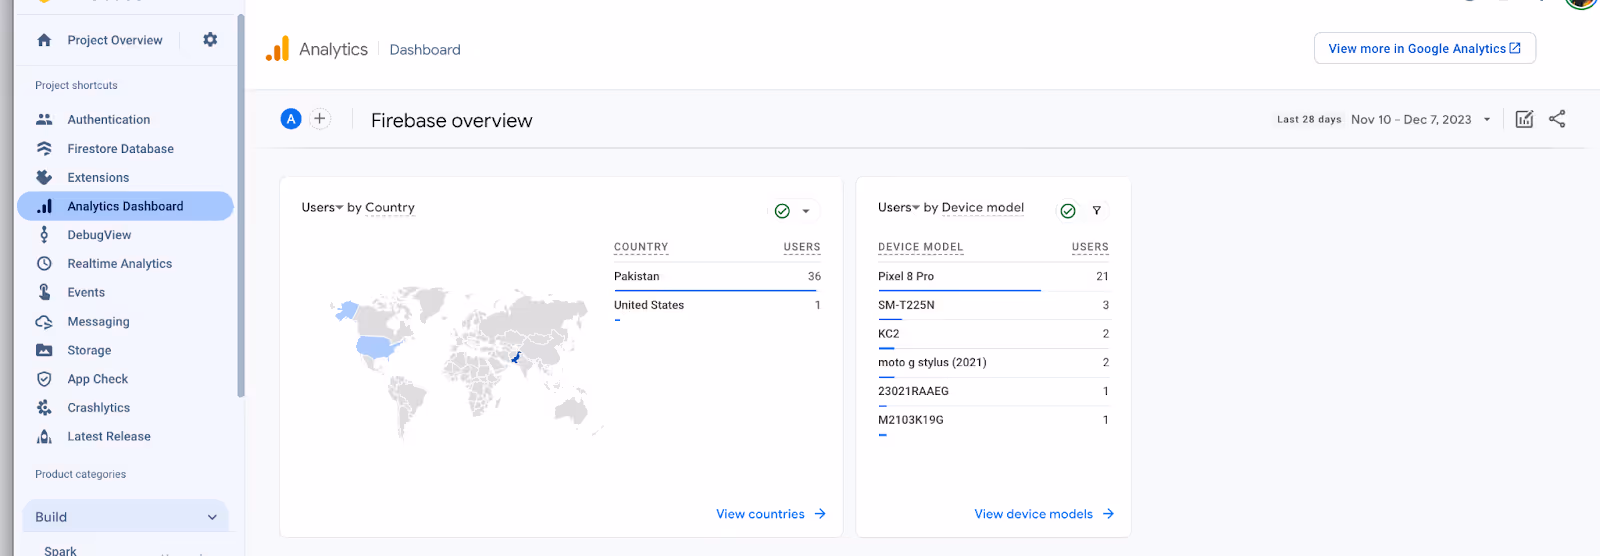
Analytics Dashboard
From here you can see further various details about your application and as it logs all the events and gives you a nice overview of users and actions as you described. Go ahead and add more events to test out various statistics.
Want to learn how to use Firebase CloudFirestore?
Conclusion
Today you learned how easy it is to build your very own Flutter Application and track it using free using Firebase Analytics.
You first started out with a default flutter project, then you learned about initializing the basic firebase project and finally we learned how to add firebase analytics.
If this article has helped in any way and you have learned something new today, Kindly consider sharing the article so others can also benefit and learn how to build simple AI applications.
Subscribe to our website for more interesting articles on AI and other interesting fields of IT.
You can find the code for this here:
Repository Link:
- Repo link: github